Adobe PageMaker - Text Block | 12th Computer Technology : Chapter 1 : Adobe PageMaker
Chapter: 12th Computer Technology : Chapter 1 : Adobe PageMaker
Text Block
Text
Block
A text block contains text you type, paste, or
import. You can’t see the borders of a text block until you select it with the
pointer tool.
You create text blocks in two ways:
1. Click or drag the text tool on the page or
pasteboard, and then type.
2. Click a loaded text icon in an empty column
or page.
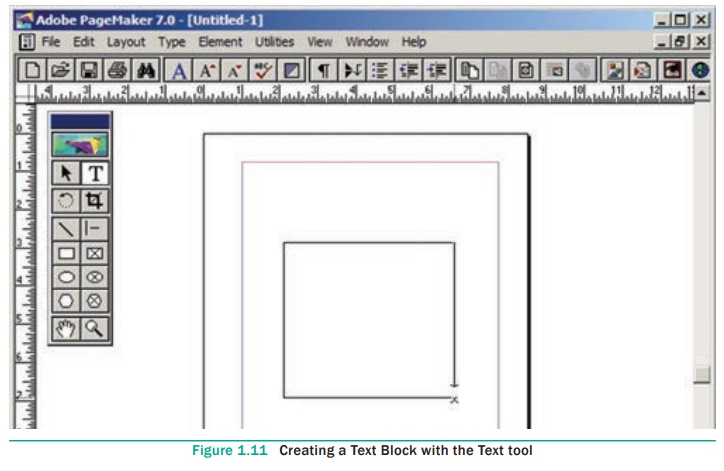
1. Creating a Text Block with the Text tool
To create a text block with the text tool:
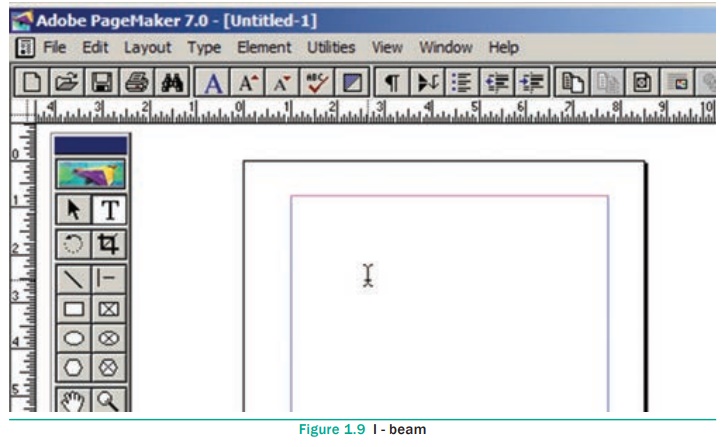
1. Select the text tool (T) from the toolbox.
The pointer turns into an I-beam.
2. On an empty area of the page or pasteboard,
do one of the following:
Click the I-beam where you want to insert text.
This creates a text block the width of the column or page. By default, the
insertion point jumps to the left side of the text block.
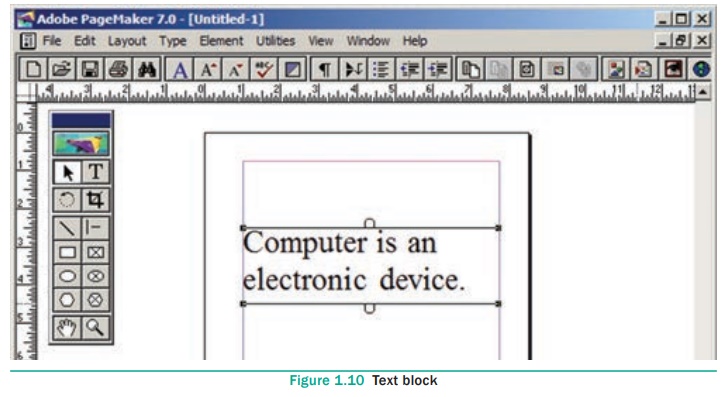
3. Type the text you want.
Unlike with a text frame, you do not see the
borders of a text block until you click the text with the pointer tool.
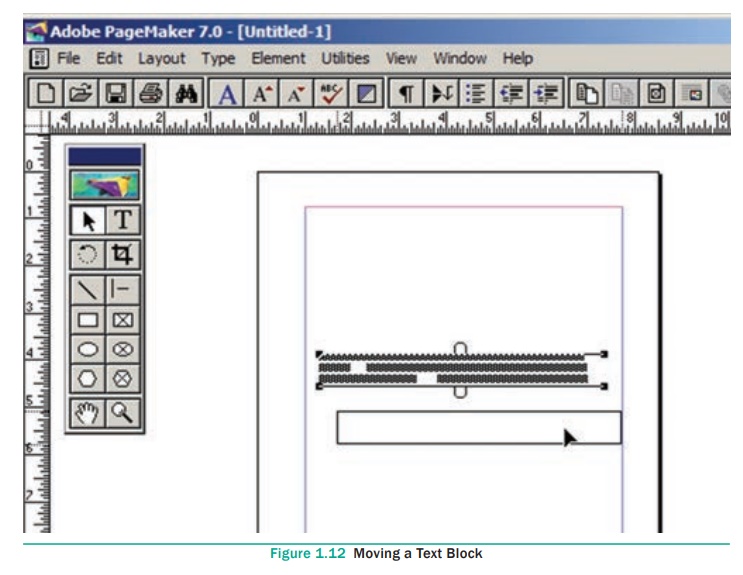
2. Moving a Text Block
To move a block without changing its shape,
place the cursor anywhere inside the block, and click and drag it to the
required position.
3. Resizing a Text Block
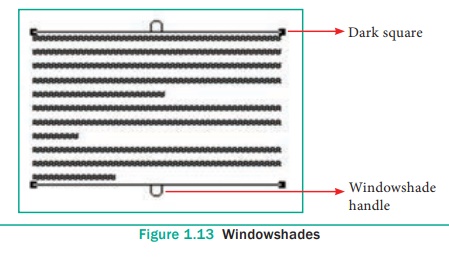
When you select a text block with the Pointer
tool, the block’s boundaries become visible. Two handles are seen above and
below the text block. These handles are called Windowshades. There is a
dark square on both ends of the handle. These are used to change the
size of the text block.
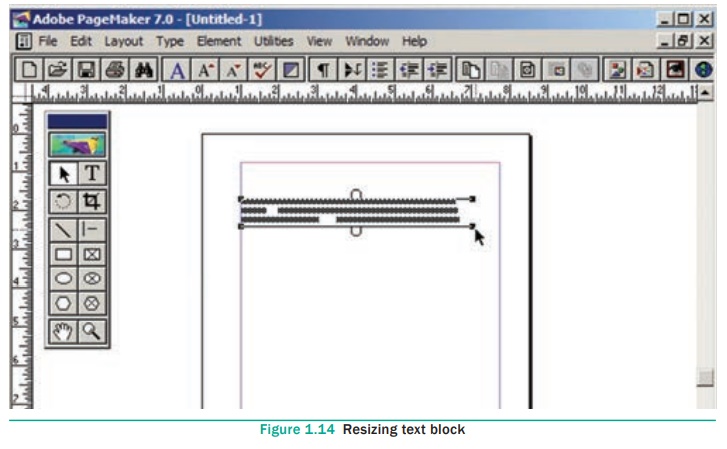
To resize a Text block
1. Click on the Pointer tool.
2. Click either the left or right corner handle
on the bottom of the text block and drag.
When you release the mouse button, the text in
the text block will reflow to fit the new size of the text block.
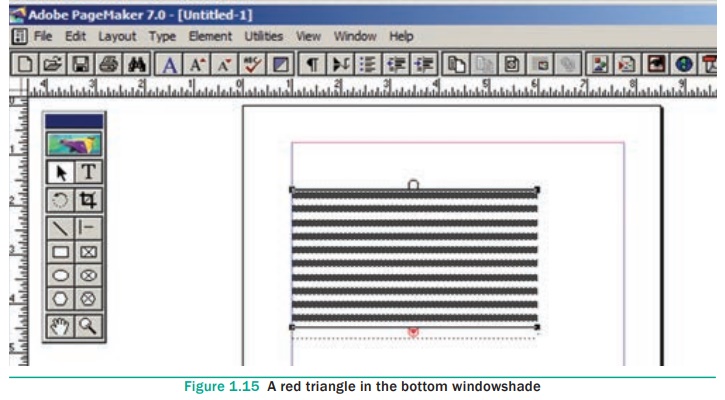
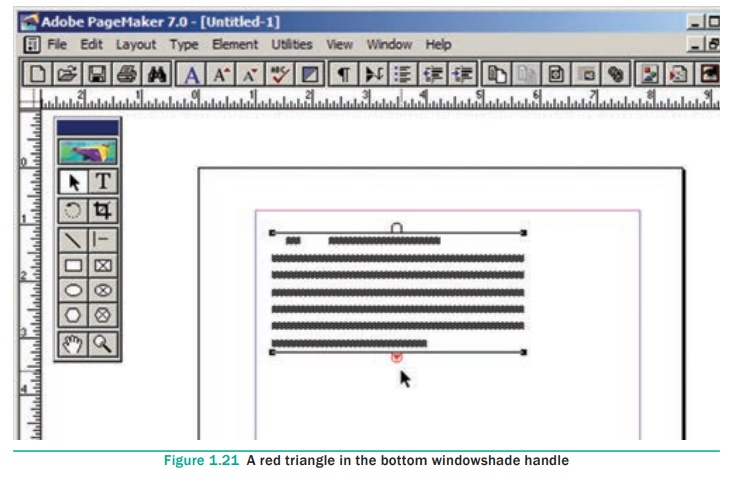
3. A red triangle in the bottom windowshade
means there is more text in the text block than visible on the page. Drag the
windowshade handle down to show more text.
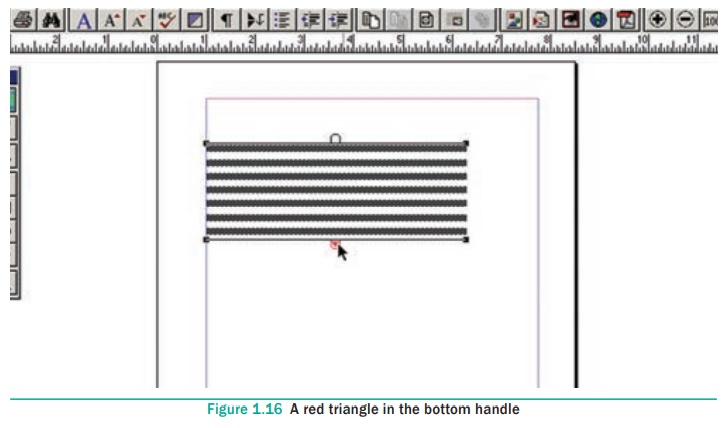
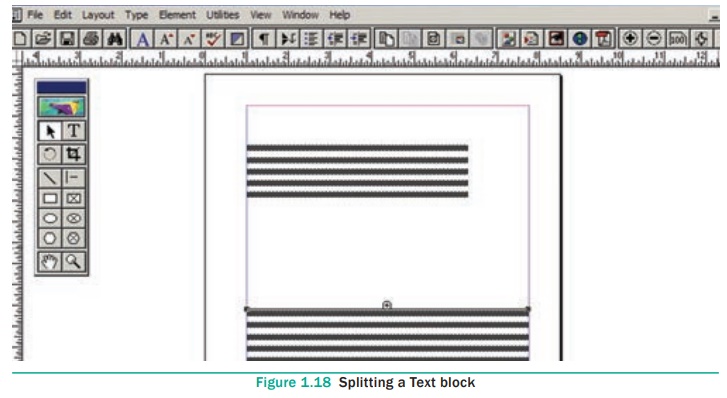
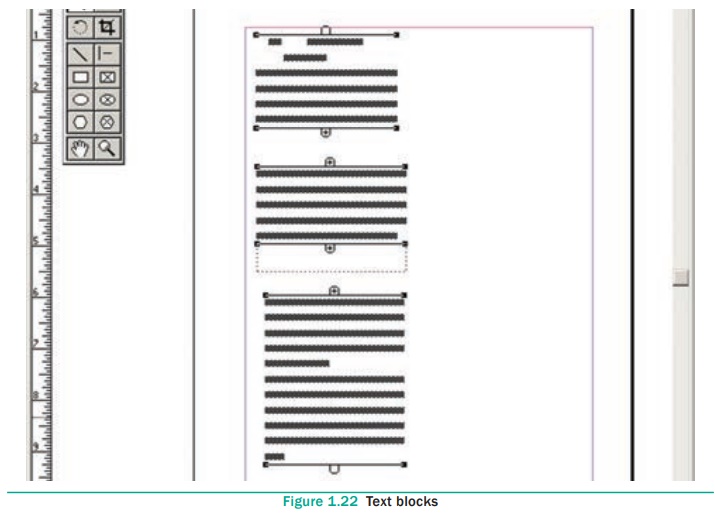
4. Splitting a Text Block into two
To split a text block into two
1. Place the cursor on the bottom handle, click and dragupwards.
When you release the bottom handle will contain
a red triangle.
2. Click once on this, and the cursor changes to
a loaded text icon.
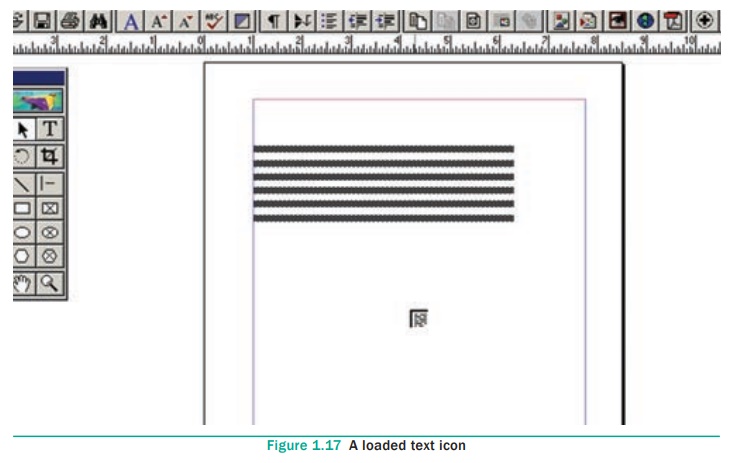
3. Position this where the second part of the
text is to be, and click.
5. Rejoining split blocks
To rejoin the two text blocks
1. Place the cursor on the bottom handle of the
second text block, click and drag the bottom handle up to the top.
2. Then place the cursor on the bottom handle of
the first text block, and click and drag the bottom handle down if necessary.
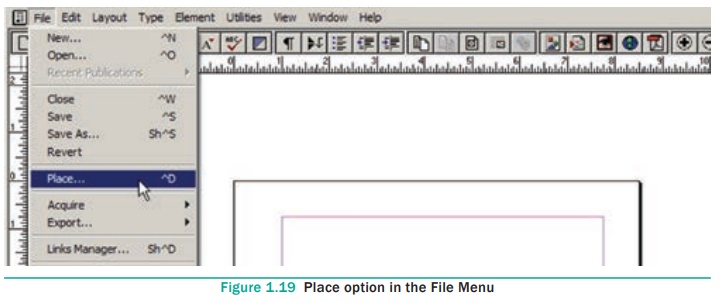
6. Placing (Importing) Text
You can insert text from other software program
like MS-Word in the PageMaker document.
1. Choose File > Place in the menu bar.
The Place dialog box will appear.
2. Locate the document that contains the text
you want to place and select it.
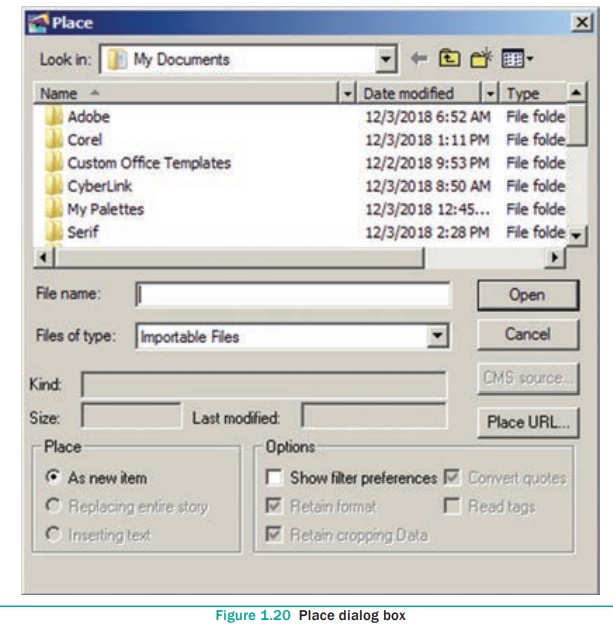
3. Click on Open in the Place dialog box.
The pointer changes to the loaded text icon ( ![]() ).
).
4. Make a text block to place the text. (Or)
Click in the page to place the text. The text will be placed in the page.
If the text to be placed is too big to fit on
one page, PageMaker allows you to place it on several pages. This can be done
manually or automatically.
Manual text flow
·
Position the loaded text
icon at a corner of the area where you want to place text, hold down the mouse
button, and drag to define the text block. Release the mouse button.
·
Text flows into the
defined area. If there is more text than fits in the text block you defined, a
red triangle appears in the bottom windowshade handle.
·
Click once on this and
the loaded text icon reappears. Now generate a new text block and click. Repeat
this process until there is no more text to place.
Similarly if you want to place the text in a
page, position the loaded text icon at the top of the page and click. Text
flows into the page. If there is more text than fits in the page, a red
triangle appears in the bottom windowshade handle.
Click once on this and the loaded text icon
reappears. Now generate a new page (or pages) by selecting Layout > Insert
Pages in the menu bar. Place the loaded text icon at the top of the
next page and click. Repeat this process until there is no more text to place.
Automatic text flow
Before importing the text, first select Layout
> Autoflow in the menu bar. Then you should import the text. Now
the loaded text icon looks different - it contains a squiggly
arrow(![]() ).
).
Place the loaded text icon at the top of the
page and click. But now the text will automatically flow on to the succeeding
pages, creating new ones, if necessary.
Related Topics