Word Processor Basics ( OpenOffice Writer) - Different techniques to insert tables | 11th Computer Science : Chapter 6 : Word Processor Basics ( OpenOffice Writer)
Chapter: 11th Computer Science : Chapter 6 : Word Processor Basics ( OpenOffice Writer)
Different techniques to insert tables
Inserting Tables
A table is a grid with a specified
number of rows and columns. Tables can often be used as an
alternative to spreadsheet to organize materials. A well-designed table can
help readers understand better what you are trying to convey.
Different techniques to insert tables
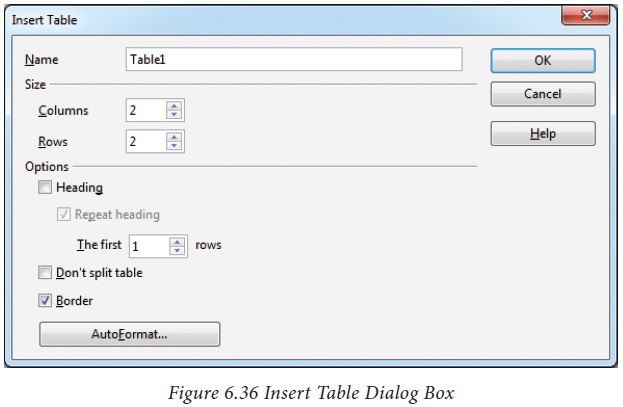
To insert a new table, position
the insertion pointer where you want the table to appear, then use any of the
following methods to open the Insert Table dialog box as shown in Figure 6.36.
There are two methods to create a
table :
1. Table Icon
To insert a table quickly from the
standard tool bar:
· Place the insertion pointer where
you want the table to appear.
·
Click
the arrow to the right side of the Table icon ![]()
· In the drop down grid, select the
number of rows and columns for the table.
· The table will appear at the
location of your insertion pointer.
2. Insert table dialog box
To insert a table with more
control over the settings and properties, use the Insert Table dialog box.
To open the dialog box: Select Table -> Insert ->Table or Ctrl +F12 or left-click the Table icon. From this dialog box, you can:
· Select the number of rows and columns of the table
· Give a Name
to the table
to later distinguish it in the Navigator
· Select the Heading option to define the first row in the table as the heading
· Select the Repeat heading option to repeat the heading row if the table spans
more than one page
· Select the Don't split table option to prevent the table from spanning more
than one page
· Select the Border option to surround each cell of the table with a border
The AutoFormat button at the bottom of the dialog box opens the
AutoFormat dialog box as shown in Figure 6.37.
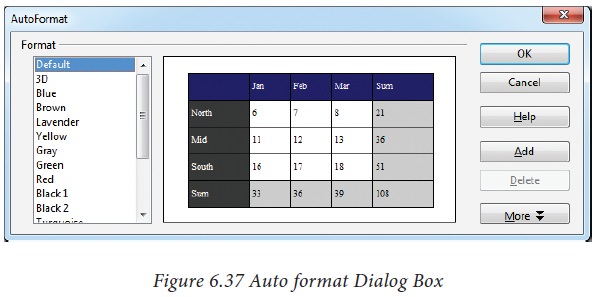
From here, it is possible to
choose among different predefined formats.
If none of the predefined auto
formats have the desired characteristics for your table, you can tune the
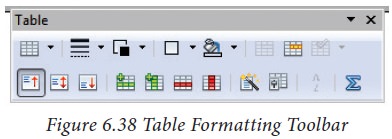
format of the table or a particular cell with the contextual Table toolbar.
Open the toolbar by placing the insertion pointer inside a table cell or select
View -> Toolbars -> Table. This
will bring the table formatting toolbar
which helps to format the table in the desired format.
Related Topics