Chapter: 11th Computer Science : Chapter 6 : Word Processor Basics ( OpenOffice Writer)
An Introduction to OpenOffice Writer
An Introduction to OpenOffice Writer
OpenOffice is the leading
open-source office software suite for word processing, spreadsheets,
presentations, graphics, databases and more. It is available in many languages
and works on all common computers. It stores all your data in an International
open standard format and can also read and write files from other common office
software packages. OpenOffice is easy to learn.
OpenOffice is a productive office
suite with a collection of different software packages such as
· OpenOffice Writer - Word Processor
to create text documents
· OpenOffice Calc - Spreadsheet to create
worksheets
· OpenOffice Base - Database
· OpenOffice Impress - Presentation
software
· OpenOffice Draw - Drawing Software
· OpenOffice Formula - Create
formula and equations
OpenOffice Writer is the word
processor component of OpenOffice. In addition to the usual features of a word
processor (spelling check, thesaurus, hyphenation, autocorrect, find and
replace, automatic generation of tables of contents and indexes, mail merge and
others), Writer provides these important features:
· Templates and styles.
· Page layout methods, including
frames, columns, and tables.
· Embedding or linking of graphics,
spreadsheets, and other objects.
·
Built-in
drawing tools.
· Master documents-to group a
collection of documents into a single document.
· Change tracking during revisions.
· Database integration, including a
bibliography database.
· Export to PDF.
1. Download and Install openoffice
Download and Install the latest
version of OpenOffice suite from http:// www.openoffice.org/download at free of
cost.
2. Creating a new document in OpenOffice Writer
A new OpenOffice Writer document
can be created by various methods. From windows, select
Start -> All Programs -> OpenOffice -> OpenOffice Writer
(or)
From Star Center (Welcome Screen):
· Double-click on “OpenOffice” icon
the desktop
· Now, a welcome screen appears as
shown in Figure 6.1
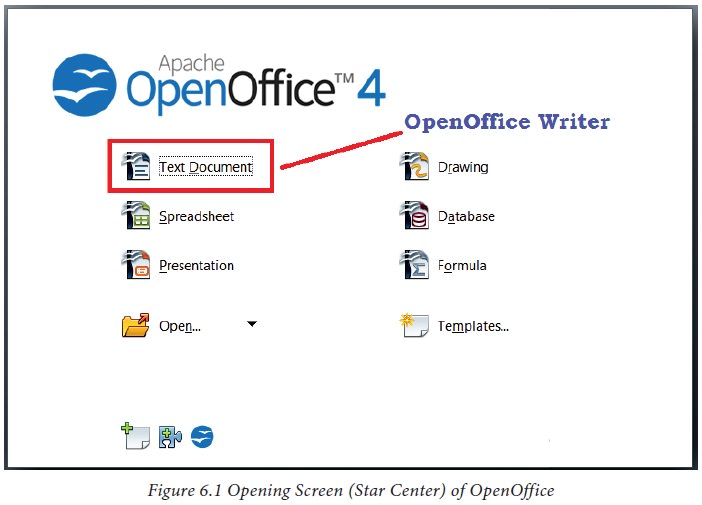
The opening screen is called as
“Star Center”. Writer is one of the components of OpenOffice. So, it may be
invoked from the “Star Center” by simply clicking on the “Text Document” icon.
(or)
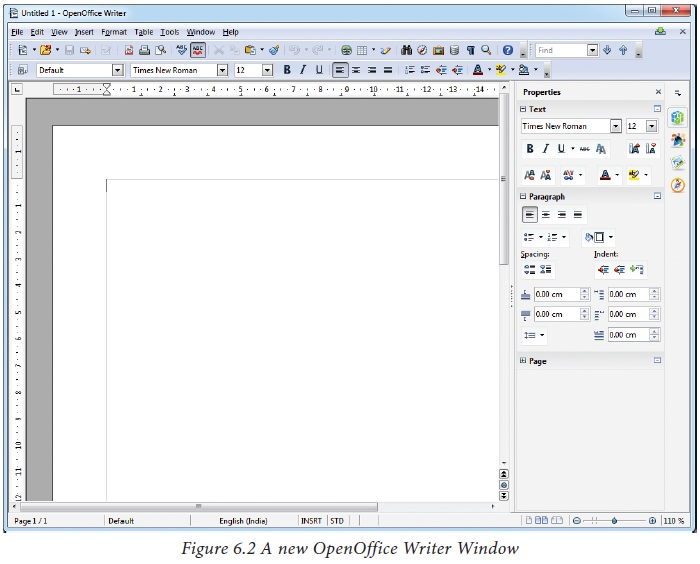
A new text document can also be
created by selecting File -> New -> Text Document from
any OpenOffice Application. Ctrl + N keyboard short cut can also be
used to open a new text document as shown in the Figure 6.2
3. Parts of Writer Window:
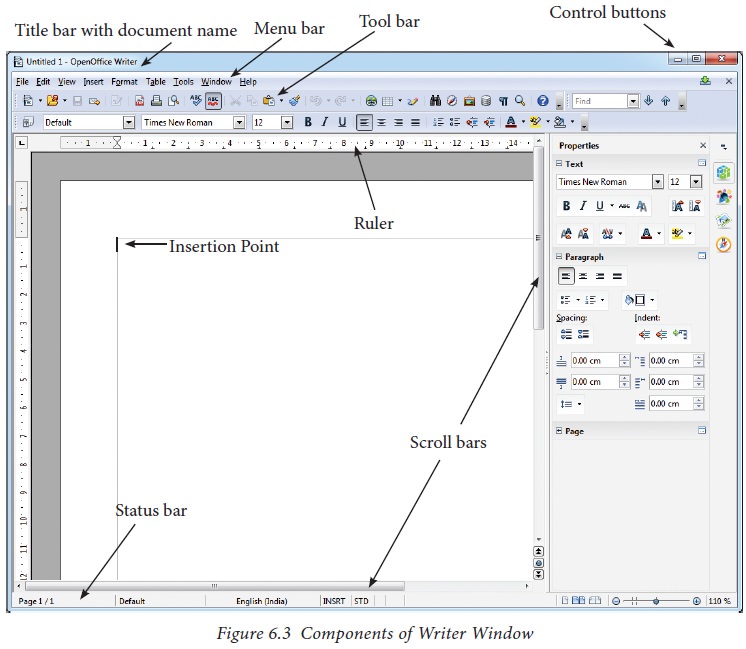
The Figure 6.3 shows the contents
of OpenOffice Writer window such as Title bar, Menu bar, Standard Toolbar,
Formatting Tool bar, Ruler, Work space and Status bar. The components of a
openoffice writer window are explained below in Figure 6.3.
Title Bar
The title bar is displayed at the
top most part of the window, which displays the name of the document and the
name of the application. By default, the initial document is given the name as
Untitled1.
Control Buttons:
In the right corner of title bar,
(1) minimize, (2) maximize/restore and (3) close control buttons are available
as shown in Figure 6.4

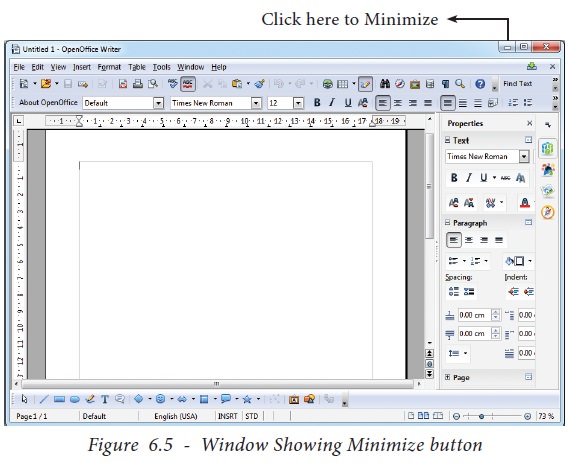
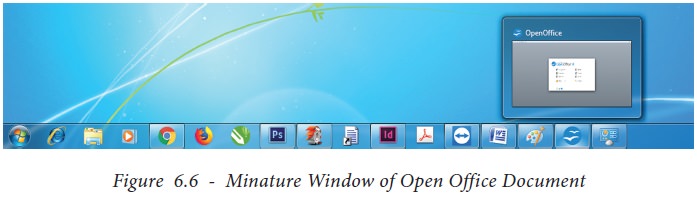
(1) Minimize button:
When you click minimize button, it
shrinks your document window maller in size and shows it as a small button on
the task bar. To restore it in its original size, place your mouse pointer on
the OpenOffice button which is available in the Taskbar, you can view your
document as miniature and when you click on the button, your document is
restored to its original size.
(2) Maximize button :
When you click maximize button,
your document window is displayed in full screen. When it is in full screen,
the maximize button is changed as “Restore”.
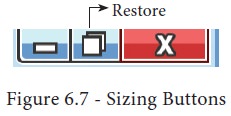
When you click restore button, the
document window regains its original size.
(3) Close button :
This button is called as “Close” button, when you click this
button, the application is closed and OpenOffice returns back to the desktop.
So, the red colored close button may be called as “Exit” or “Quit”.
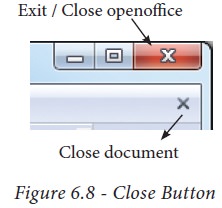
There is another X mark on the
right most corner of the menu bar. This is actually used to close your
document. When you click this X mark, your document will be closed, OpenOffice
will be still opened.
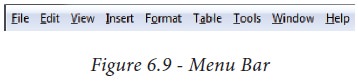
Menu Bar
The menu bar is just below the
title bar which comprises of various menus consisting of various options.
File
– The File menu contains various option for file management
tasks: New, Open, Close, Save, Save As, Print, Export etc.
Edit
–The Edit menu contains the editing options like, cut, copy,
paste, Undo, Redo etc.
View
–The View menu contains the options which are used to modify
the environment of writer like display of toolbars, web layout, print layout,
navigator etc.
Insert
– The Insert menu contains commands for inserting various
elements such as pictures, tables, charts, comments, headers, footers, special
characters etc.
Format
– The Format menu contains the options of various text and page
formatting features like page size, layout, font characteristics, bullets and
numbering etc.
Tables–
The Table menu contains various tools to manage and manipulate
tables such as create table, insert rows, insert columns, split cells, merge
cells etc.
Tools
– The Tools menu contains various tools and functions such as
spell check, macros, mail merge, end notes/ footnotes etc.
Window
– The window menu shows display options such as New Window,
Close Windows, Split and Freeze.
Help
– The Help menu lists out the inbuilt help features available
with OpenOffice .
Tool Bar:
Under the menu bar, there are two
toolbars available by default. They are:
(1)
Standard Toolbar
(2)
Formatting Toolbar
Standard
Tool Bar– This tool bar is
just below the menu bar which consists of
shortcut icons for frequently performed tasks. There are many shortcut
icons like cut, copy, paste, undo etc…

Formatting
Tool Bar– The formatting
tool bar is below the standard tool bar which consists of icons used for formatting the text like bold,
underline, italics, font type, font color etc.

Ruler
The ruler is a scale below the
formatting tool bar which shows the margins.There are two set of rulers (1)
Horizontal ruler and (2) Vertical ruler. Horizontal ruler is used to set left
and right margins of a page and vertical ruler for top and bottom setting.

Work Space
The work space is the blank area
which is used to type the content of the file.A flashing vertical bar appears
at the beginning of the screen which is called as “Insertion pointer”.
Status Bar
The status bar is at the bottom of
the window which shows the current status of the document such as number of
pages, current page number, default language etc.
4. Entering the Text
Once a new document is open, the
text can be typed in blank area of the screen. To create a document the user
can start typing straight away. As the text is typed they appear on the screen
and the flashing vertical bar called the
insertion pointer moves to the right. When the text reaches the end of the
line, the word is automatically wrapped to the next line. This feature in any
word processor is known as “Word Wrap”.
The Enter key must not be pressed at the end of the each line. The Enter key should be pressed only at the
end of a paragraph or when a blank line is to be inserted. When a page is
filled up, OpenOffice Writer automatically creates a new page.
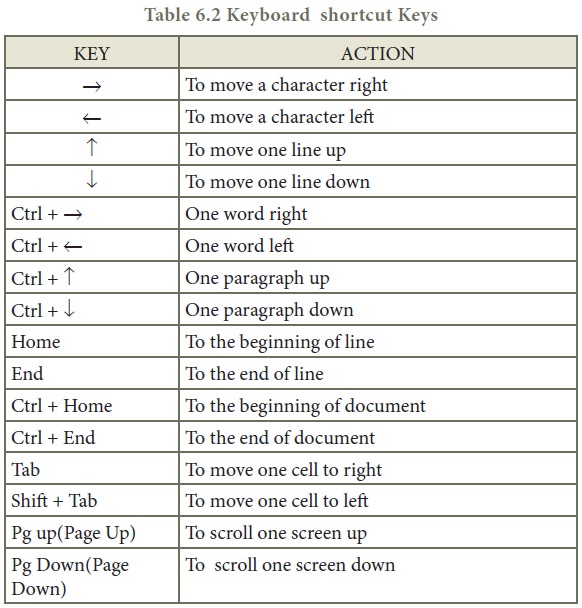
5. Moving within a document
There are different ways of moving
within a document. There are many shortcut keys given in Table 6.2 which are
used to move easily within a document.
Table
6.2 Keyboard shortcut Keys
6. Saving the Document
The first time the document is
saved, OpenOffice Writer prompts for a name. Naming the file enables the user
to find and open that file again. One can select the drive and folder where the
file will be stored. To save a document for a first time, the following steps
are used:
Click File -> Save ‚ (or) File -> Save
As (or) Ctrl + S
The “Save As” dialog box appears as on Figure 6.13.
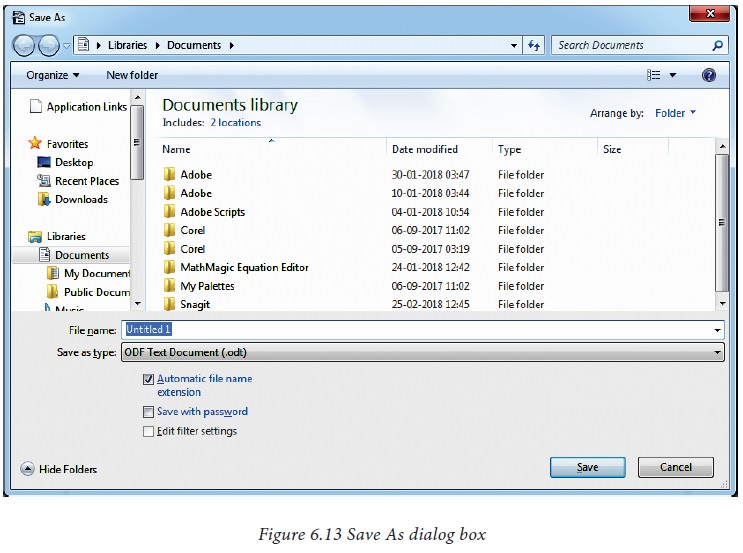
· Select location to store your
document. The default location to store all documents is “Documents” folder in
Windows.
· Type your document name in the File Name box.
· All documents in OpenOffice writer
will be stored with .odt extension. You can store your OpenOffice document as
Microsoft Word document or pdf. To do so, select file type from Save as type
list box. This list box shows variety of formats to be saved.
· Finally, Click “Save” button.
·
Once
the file is saved, your document name will be displayed on the title bar.
Saving with password
In OpenOffice writer, a document
can be protected with a password. You can set a password to protect your
document while saving a file. To save a file with password, click on “Save with Password” check box and then
click “Save” button. Immediately it
shows “Set Password” dialog box as given the Figure 6.14.
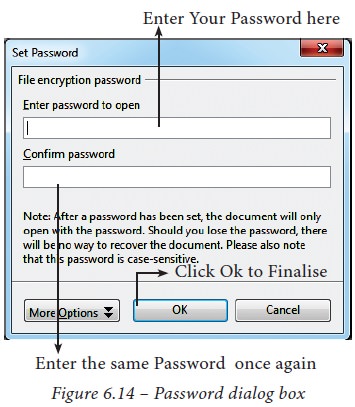
In this dialog box, Enter a
password in “Enter Password to open”
text box and retype the same password in “Confirm
Password” box for confirmation.
Finally click “OK” button.
“More Options” button provides some more features to your protected document such as “Read only” and change password.
7. Closing a Document
After your document is saved, it
is still open. So, you can continue typing your document. When the work is
finished, you should save the document and then close document using File -> Close
command (or) Press Ctrl + W.
Closing Unsaved Document:
When you close an unsaved file
using the close control button, Writer shows a warning message as shown in
Figure 6.15.
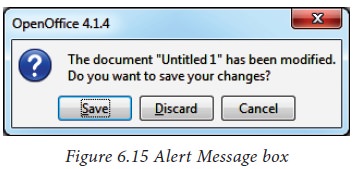
If you accept the warning message,
click the “Save” button. When you
click the “Save” button, it proceeds
to save the file. If you are not willing to save the file, then click “Discard”, or if you want to cancel
this warning and continue working in the same document, click “Cancel”.
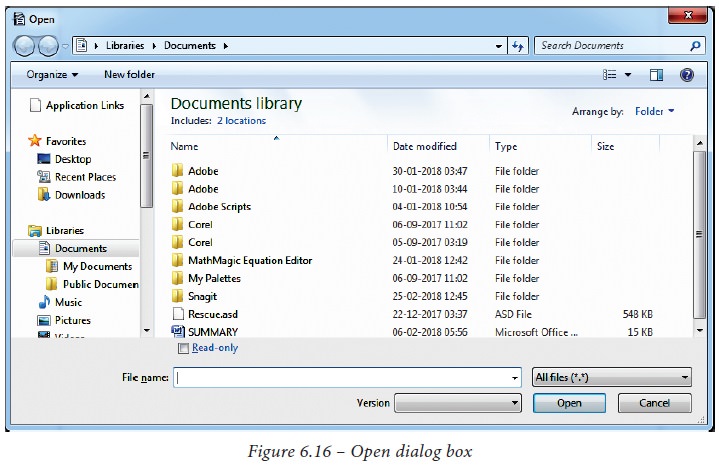
8. Opening an existing document
Once a document is saved, it can
be opened at any time. To open an existing document, Click on the File -> Open
or Ctrl + O, the Open dialog box appears, enter the name of the file in the
File Name text box and click on OPEN
button as in Figure 6.16.
Related Topics