Chapter: 12th Computer Applications : Chapter 3 : Introduction to Database Management System (DBMS)
MySQL - Administration Responsibilities
MySQL –
Administration
MySQL – Administration Responsibilities
In general there exists a role known as Database
Administrators (DBA’s) who takes care of configuration, installation,
performance, security and data backup. DBA’s posses the skills on database
design, database queries, RDMS, SQL and networking. The primary task is the
creation of new user and providing them with access rights.
Creating New User Account to MySQL
In MySQL
database, there exists a table named user.
The newly created account must have an entry in this user table. Consider the admin creates an account with username and
password. The user account is activated with various access rights like INSERT,
SELECT and UPDATE. Consider the user
table has the following fields host, name, password, select_priv, insert_priv
and update_priv.
A new user account is added with values to the user table using the following INSERT
query in MySQL database. The Syntax for inserting record is INSERT INTO table
name (Parameter1,Parameter2, Parameter3..) VALUES (Value1, Value2, Value3..);
All the query is in SQL will terminate with semicolon(;).
mysql> INSERT INTO user (host,
name, password, select_priv, insert_ priv, update_priv)
VALUES (‘localhost’, ‘guest’,
PASSWORD(‘guest123’), ‘Y’, ‘Y’, ‘Y’);
Query OK, 1 row affected (0.20 sec) – This
statement implies that the query is executed successfully with the time in
seconds.
mysql>FLUSH PRIVILEGES;
The above command is executed after every new
account creation. This command is similar to rebooting the server so that newly
created account and the access privilege are updated in the server. Manual
server rebooting is avoided by this command.The inserted record is retrieved
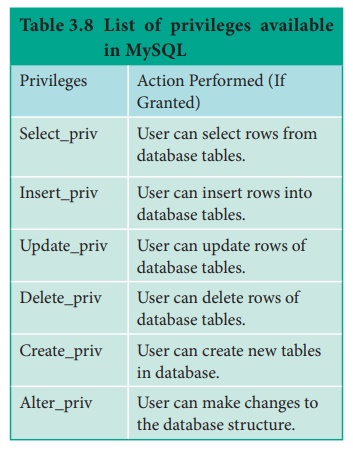
using SELECT query and the structure is shown below Table 3.7 & 3.8:
mysql>SELECT * FROM user WHERE name =
‘guest’;
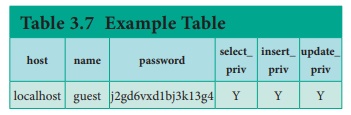
Since MySQL is more secured, it provides function
to encrypt the password. Thus the password ‘guest123’ is encrypted and stored
as ‘j2gd6vxd1bj3k13g4’ using PASSWORD() function. The parameters select_priv,
insert _priv and update_priv are few privileges set for the new user. If the
flag is set as ‘Y’ then access is granted and if flag set as ‘N’ then access is
denied.
Administrative MySQL Command
The Database Administrator (DBA) frequently uses
few commands to control the entire database. These commands are known as
Administrative MySQL Commands. The following are few such important commands
used frequently while working with MySQL.
1. USE
Database – This command is used
to select the database in MySQL for working. If there exists a database named test, it is used as working database
using the below Syntax.
Syntax:
mysql > use test;
Database changed
mysql>
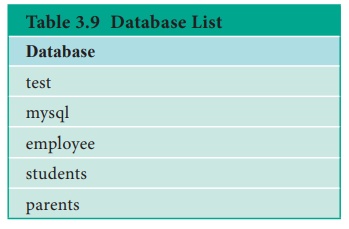
2. SHOW
Databases – Lists all the
databases available in the database server. See Table 3.9
Syntax:
mysql > show databases;
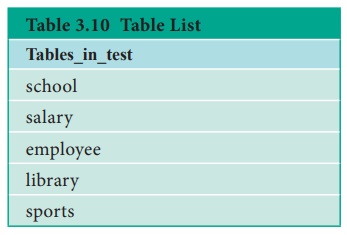
3. SHOW Tables – Lists all the tables available in the current database we are working in. See Table 3.10
Syntax:
mysql > show tables;
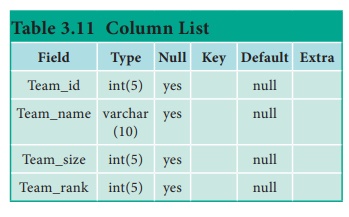
4. SHOW COLUMNS
FOM
tablename – Lists all the attributes, attribute type, Is Null alue
permitted, key information, default value and other information for the given
table. The show columns for sports
table is given below in Table 3.11.
Syntax:
mysql > show columns from sports;
5. SHOW
INDEX FROM tablename – The query shows all the indexes for the given
table.
Syntax:
mysql > show indexes from sports;
6. SHOW
TABLE STATUS LIKE tablename\G – This command provides with detailed report on the performance of the table.
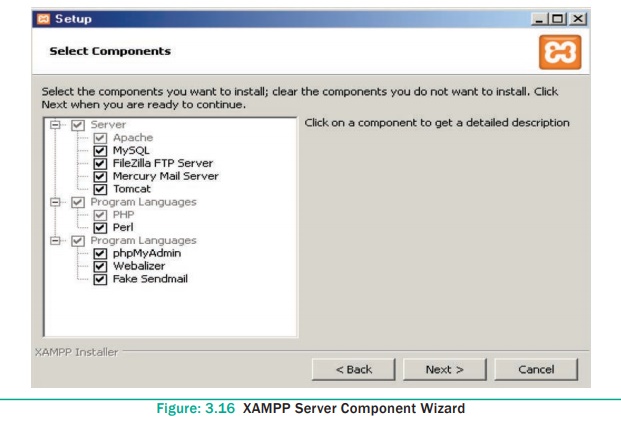
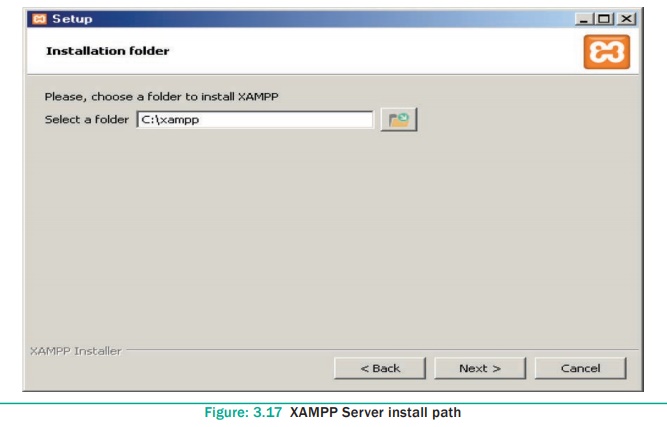
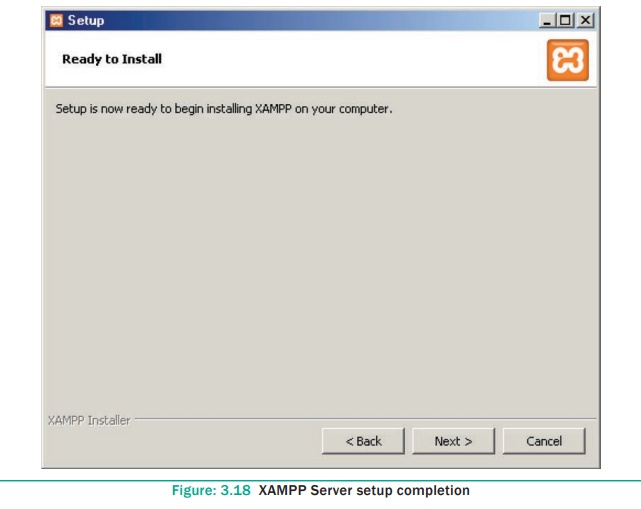
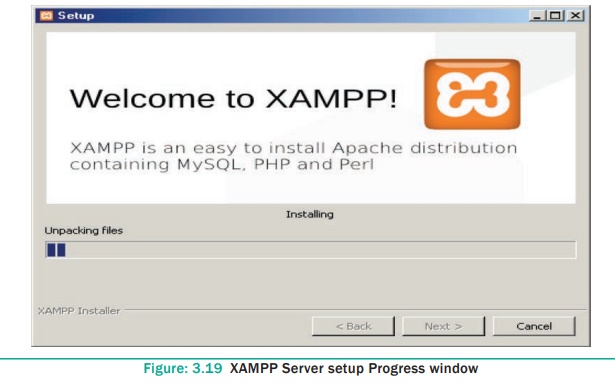
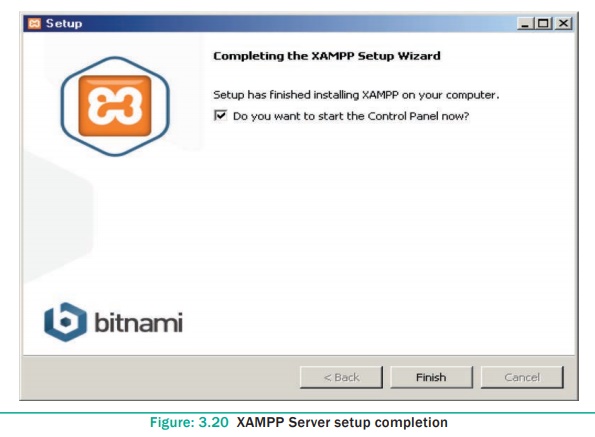
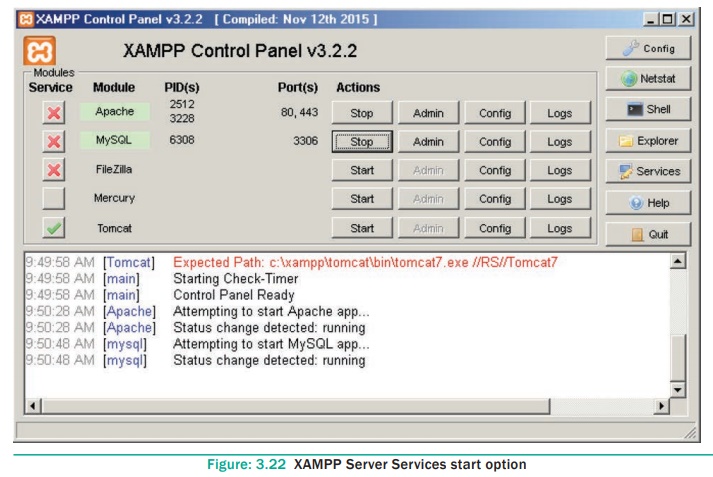
MySQL Installation
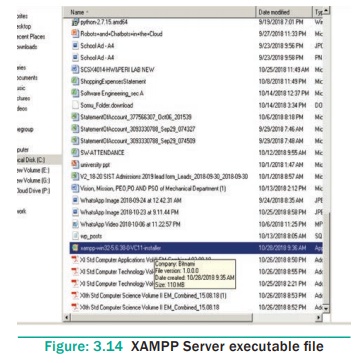
Download and install XAMPP Server Software from
Internet. Refer Figure 3.14 to 3.23.
Click the Welcome Page Next Button

Select the Required component along with MYSQL
component and click next button
Choose The Installation Folder and click Next
Click Next Button in Setup ready page
Installation get started
After installing Click finish button and open the
XAMMP Control panel
In the Control Panel start the Apache and MySQL
Services one by one
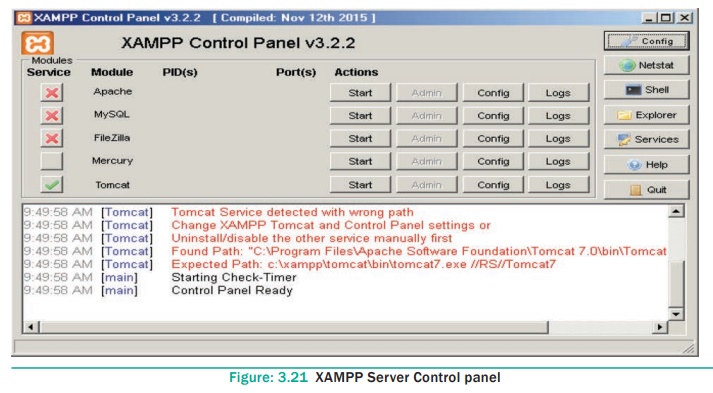
The two services get started one by one
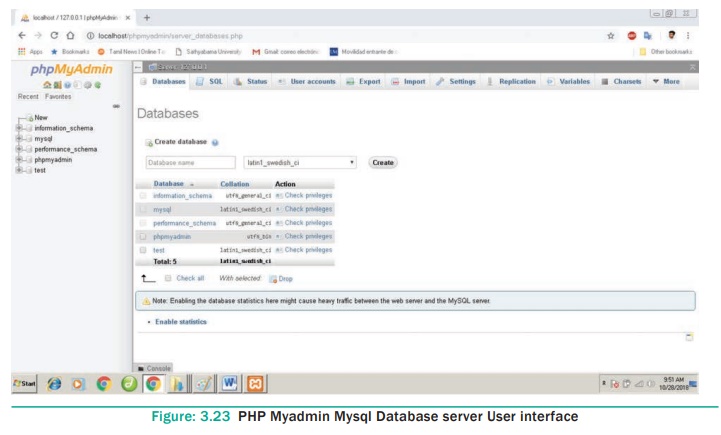
Open the URL http://localhost/phpmyadmin URL in a
browser to access MySQL database.
Related Topics