Chapter: 11th Computer Applications : Chapter 12 : HTML - Adding multimedia elements and Forms
Inserting Images - HTML
Inserting
Images
Images
are essential element to make an HTML presentation as more attractive manner.
Moreover images are used to depict many complex concepts in simple way. To make
more attractive and communicative web pages, images should be added in the
appropriate places.
Images
displayed on the web page should be converted to universally supported format.
Most of the browsers supports, GIF, JPEG and PNG images formats. HTML-5
introduces SVG images. One format of image can be converted to another format
by using Image editing applications such as Photoshop, Picasa, GIMP etc.,
Familiar Image Formats
GIF (Graphical Interchange Format)
This
format is one of the popular format for animated images. It was developed by
CompuServe. Usually this image format is suitable for presenting tiny animated
images, logos, icons, line art etc., It is not suitable for photographic work,
because it uses maximum of 256 colours. Animated GIF do not support sound or
playback control.
JPEG (Joint Photographic Experts Group)
JPEG
is the most popular image format supported by all web browsers. This format is
suitable for photographic images. Unlike GIF, JPEG can include any number of
colours.
PNG (Portable Network Graphics)
PNG
is designed as a replacement for GIF. It is also supported by all browsers.
SVG (Scalable Vector Graphics)
SVG
is a graphics format that was developed for web. It was standardized by World
Wide Web Consortium (W3C) in 2001. All current web browsers supports basic
features of SVG.
Inserting Images with HTML document
The
<IMG> tag along with the
attribute src (Source) is used to add images in HTML document.
General format:
<img src = image_name_with_extension>
(OR)
<img src = URL>
Example:
<img src =
image1.gif>
Src
attribute is the main attribute used to specify the file name of the image to
be inserted. If the image is not in the current working folder, the image file
name should clearly specify with the path of the file or URL, where the file is
available.
Example:
<img src = “D:\images\animals\cat.jpeg”>
Illustration 12.1: An HTML code to insert an inline image
<html>
<head>
<title>
Inserting Images </title>
</head>
<body>
<h1 align =
center> Bharathiyar </h1>
<img src = bharathiyar.gif>
</body>
</html>
The output will be:
Other Attributes of <img> tag:
Other
than src, the <img> tag has many attributes the enable to control how the
image is presented on the page.
Alt (Alternative Text)
The
alt attribute within <img> tag is used to describe the image, so that
some text is conveyed even when the image cannot be displayed.
Example:
<img src =
bharathiyar.gif alt = “National Poet of India”> Width and Height:
Width and Height
Width and Height attributes are used to set the width and height of an
image. The values of these
attributes should be either pixels or percentage of its actual size. If these
attributes are not specified, the browser displays the image in its original
size.
Vspace (Vertical Space) and Hspace (Horizontal Space):
Vspace
and Hspace attributes are used to set Vertical and Horizontal space between the
images.
Illustration 12.2: An HTML code to demonstrate <img> attributes
<html>
<head>
<title> Inserting Images </title>
</head>
<body>
<h1 align = center> Mahakavi Bharathi </h1>
<img src = bharathiyar.gif alt = "National Poet of
India" Width = 20% Height = 25% vpace = 20 Hspace = 20>
<img src = bharathiyar.gif alt = "National Poet of
India" Width = 20% Height = 25% vpace = 20 Hspace = 20>
<img src = bharathiyar.gif alt = "National Poet of India"
Width = 20% Height = 25% vpace = 20 Hspace = 20> <br>
<img src = bharathiyar.gif alt = "National Poet of
India" Width = 20% Height = 25% vpace = 20 Hspace = 20>
<img src = bharathiyar.gif alt = "National Poet of
India" Width = 20% Height = 25% vpace = 20 Hspace = 20>
<img src = bharathiyar.gif alt = "National Poet of
India" Width = 20% Height = 25% vpace = 20 Hspace = 20> <br>
</body>
</html>
The output will be:
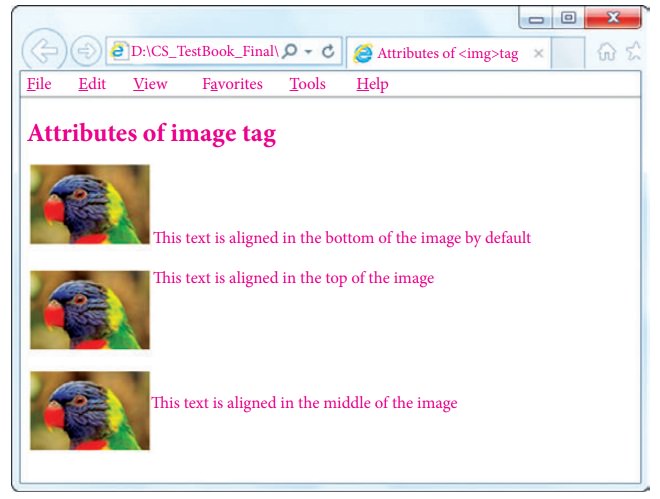
Align:
The
align attribute used to aligns the image with respect to the base line of the
text. This attribute has the following values.
•
Bottom
– Aligns the bottom of the image with the baseline of the text. This is the
default setting.
•
Middle
– Aligns the middle of the image with the baseline of the text.
•
Top
– Aligns the top of the image with the baseline of the text.
Left and Right values of Align attribute:
Using
left and right values with align attribute, displayed the image on the left and
right side of the text.
Illustration 12.3: An HTML code to demonstrate baseline of text
<html>
<head>
<title>
Attributes of <img> tag </title>
</head>
<body>
<h2>
Attributes of image tag </h2>
<img
src="D:\Images\Bird.jpg" alt="Parrot Image">
This text is
aligned in the bottom of the image by default <br> <br> <br>
<img src="D:\Images\Bird.jpg"
alt="Parrot Image" align=top>
This text is
aligned in the top of the image <br><br>
<img
src="D:\Images\Bird.jpg" alt="Parrot Image" align=middle>
This text is
aligned on the middle of the image
</body>
</html>
The output will be:
Related Topics