Chapter: SCIENCE EXPERIMENTS & AMUSEMENTS FOR CHILDREN BY CHARLES VIVIAN. Simple Technical Steped Practical Projects for school and college students.
Make Your Own Periscope

Make Your Own Periscope
You will need: Cardboard, two small mirrors, scissors, gummed paper.
Although rays of light travel only in a straight line they can be 'bent' or reflected so that images are brought to our view which are normally outside our range of vision.
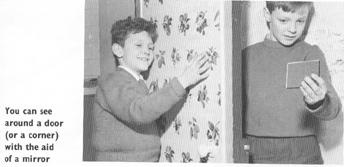
We cannot normally see around a corner or an open door. But if we hold a mirror at arm's length and so adjust its angle that we can see into it, while at the same time it reflects a view from the other side of the corner or the open door, we have succeeded in 'bending' straight lines of light.
If we use two mirrors and employ the double reflection they offer, we can make ourselves a simple periscope. Submarines and tanks use periscopes. These are quite complicated affairs, but still use the same principle of reflecting the rays of light.
You will require cardboard for the casing of your periscope. The width and breadth of this casing will depend upon the sizes of the mirrors you use. The two mirrors cost only a few pennies each and are on sale at large stores as handbag mirrors.
You can make your periscope as tall as you like, always provided the cardboard is stout enough to support the height. The periscope show the illustrations is 18 inches tall. Cardboard which was thin enough to cut easily with scissors proved strong enough to make a sturdy little casing of this height.
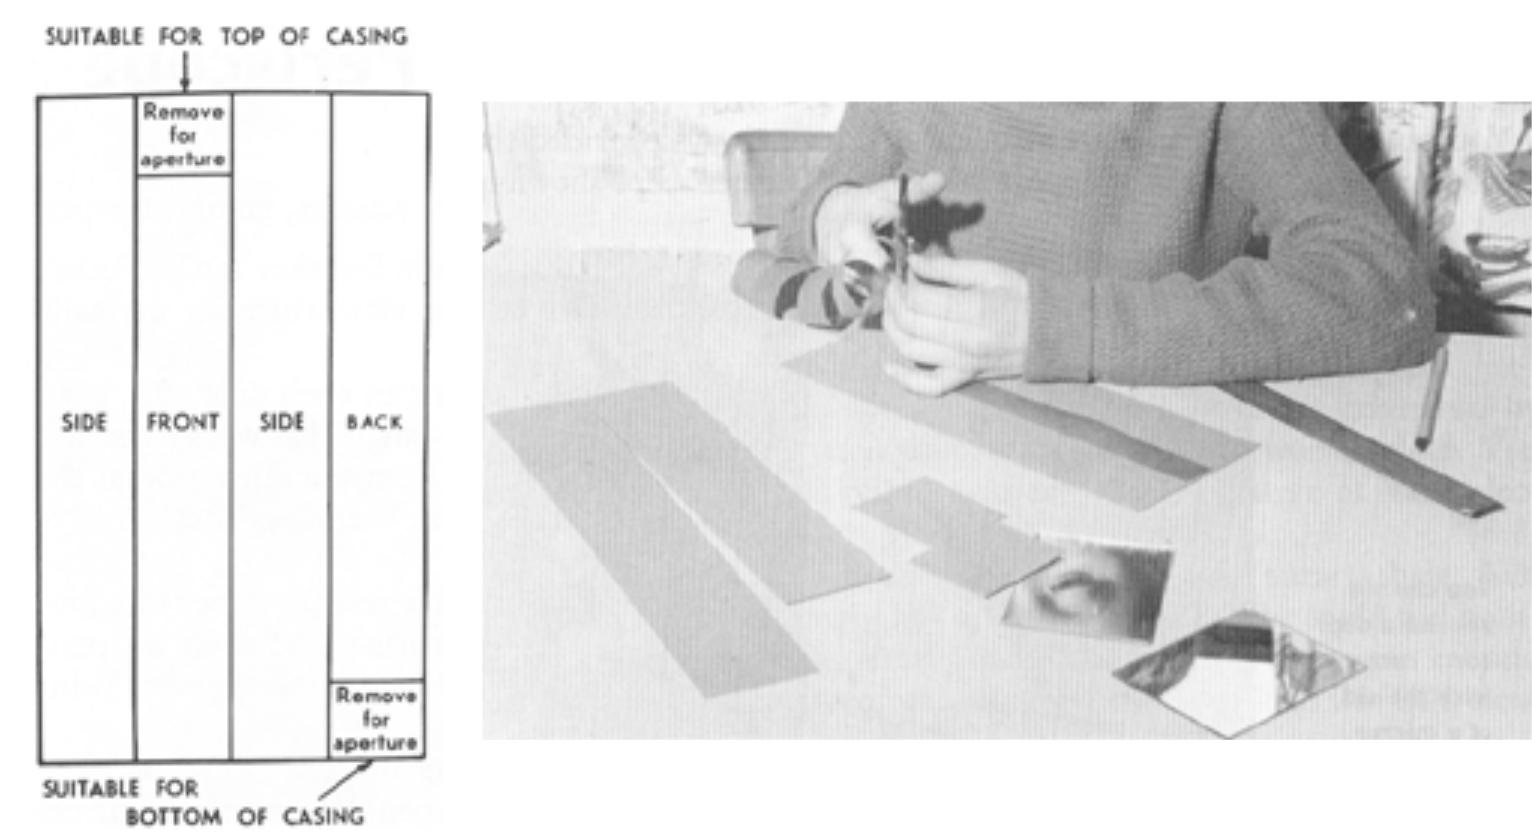
The sides of your periscope will need to be cut full-length, but the front and the back are shortened to allow for two apertures (openings). The diagram on the left indicates how the pieces of card removed for these apertures are suitable for the top and the bottom of the casing.
Use a strong gummed paper or adhesive tape to join the sides and top of the casing. The viewing apertures must be arranged at opposite ends of the periscope.
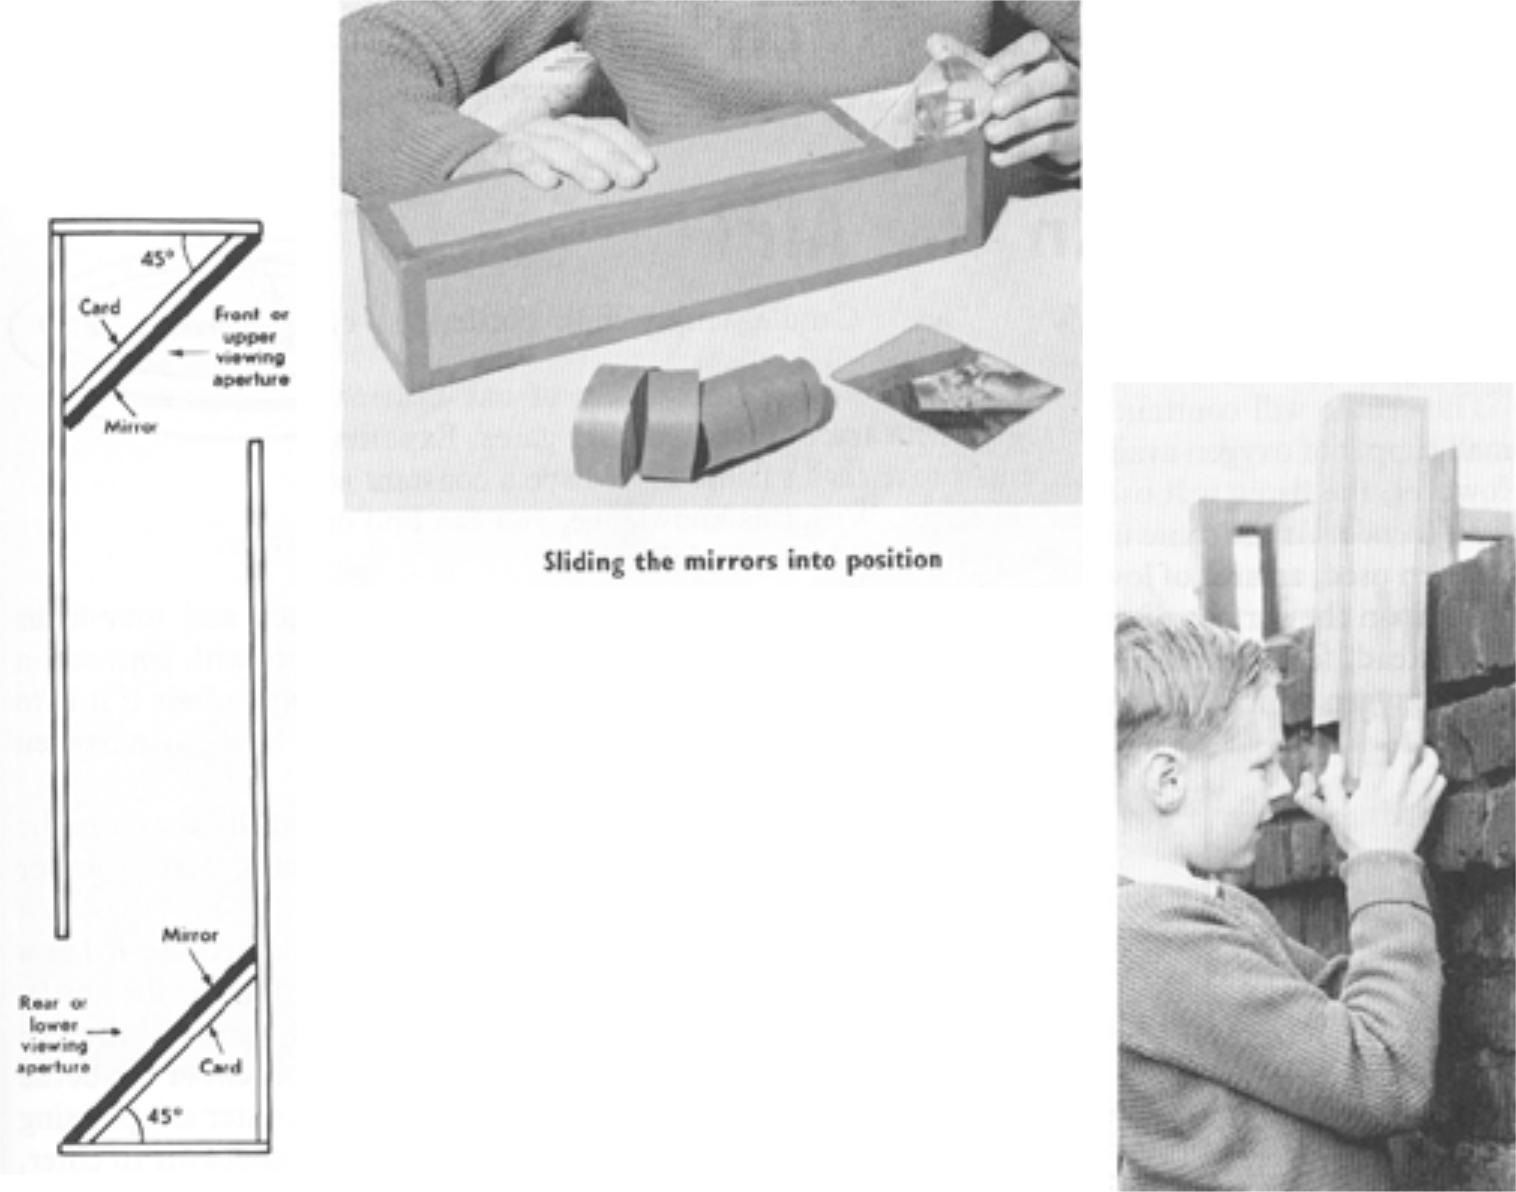
When you have completed the casing, secure two pieces of cardboard at angles of 45 degrees with the help of gummed paper. Next comes the important job of fixing the two mirrors in position. These rest on top of the pieces of card which have been previously set at an angle. The photo above shows how to slide one of the mirrors into position. Secure it there with strips of gummed paper.
Once the mirrors have been satisfactorily secured, your periscope is completed. You will be able to have lots of fun looking over walls or around corners. It will also prove useful if you find yourself at the back of a crowd of people when there is a parade or a game taking place.
Related Topics