Textiles and Dress Designing - Salwar | 12th Textiles and Dress Designing : Practical
Chapter: 12th Textiles and Dress Designing : Practical
Salwar
Salwar
Learning objectives
·
To develop skills in sewing the salwar.
·
To learn the different methods of constructing salwars.
Introduction
Salwar is worn by Indian women since early days. Today salwars are
designed in various styles to suit the current trend and culture. Trousers,
pants and pleated pants are mostly prefered for the pants. Waist bands are
attached on the waist line with gatherings / elastic for the comfort of the
wearers. Waist band are added both for functional and decorative purposes.
Tools required
Measuring
Tools - Measuring Tape, Scale.
Drawing
Tools - Brown Sheet, Bell Pin, Table, Pencil.
Marking
Tools - Tailor’s Chalk, Pencil.
Cutting
Tools - Scissors, Seam Rippers, Fabric Shears.
Stitching
Tools - Thread, Hand Needle, Sewing Machine.
Ironing
Tools - Ironing Table, Iron Box.
Fasteners
Attachments - Cords / Tapes.
Decorating Items - Collar
Canvas.
Suitable materials
Cottong Fabric, Polene, Fancy Materials, Floral Designed Cloths.
Measurements
Height - 100 cm + Seam Allowance – 5 cm
Seat Circumference - 80 cm
Required fabric
2 meters – 2 1/2 meter.
Drafting method
ABCD - Rectangle
AC = BD - 1/4 Seat Circumference (20 cm)
A1 – A = A2 - C - 25 cm
AB = CD - 75 cm
CE - 13 cm
FD - 6 cm
A1 A = A2 C - Band Piece
ACEFB - Separate Piece.
Cutting lines
Waist Band - A1, A2, C, A
Leg Pattern - CEFBA
Layout
Fabric should be folded on lengthwise centre fold for cutting.
Marking and cutting
Place the pattern on the fabric and leave sufficient
fabric for seam allowance and cut.
Garment components
Band Piece - 1
Leg Piece - 2
Stitching method
·
Join the side seams of the salwar.
·
Gather the bottom of the salwar at the hem line to suit the leg
circumference or according to the style.
·
Finish the bottom with a binding.
·
In case gathers are not introduced in the style then finish the
hem line of the salwar with a facing. A suitable canvas piece can be place in
between the facing for stiffness.
·
Make a 2 or 3 rows of stitches for decoratio at the bottom of the
salwar.
·
At the front part of waist line, leave a suitable hole for
openingand fold and machine.
·
The hole must be finished with button hole stitches.
·
Insert a cord into the waist band.
Finishing
·
Remove unwanted threads.
·
Insert cord into the waist band, iron the stitched garment and
fold neatly.

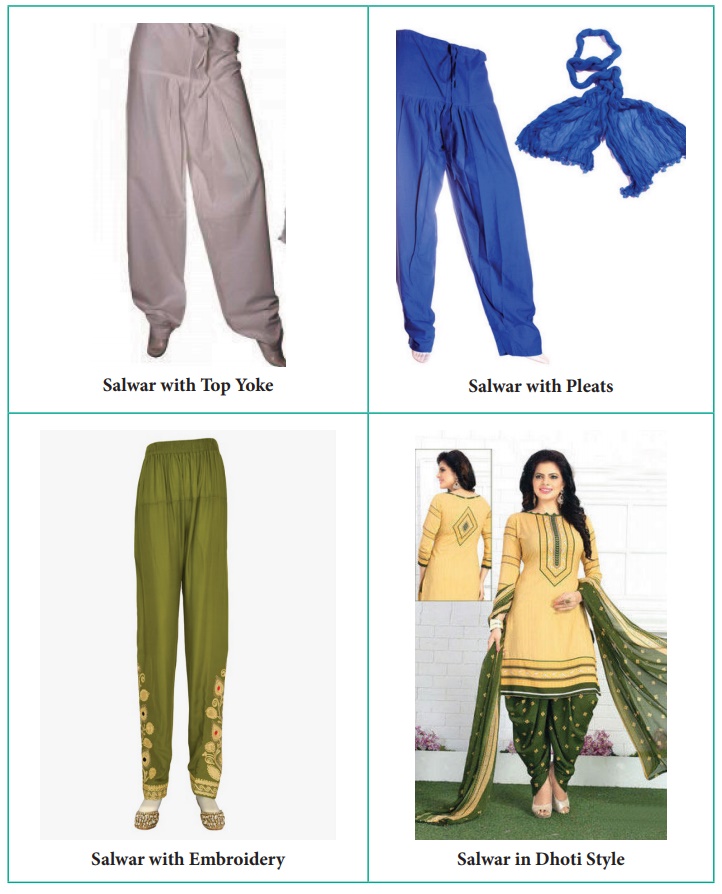
Salwar images
Related Topics